
Diy Cursive Practice
📖 Table of Contents
I remember the first time my daughter brought home a cursive worksheet from school. Her eyes were wide with confusion, and her pencil was shaking. It was clear she had never been taught how to form the letters properly. That moment led me down a rabbit hole of research. I discovered that cursive is not just a relic of the past—it's a vital skill that helps with fine motor development, hand-eye coordination, and even brain function. But with most school systems cutting cursive from the curriculum, it's up to parents to step in. That’s how I came up with the idea of DIY cursive practice, a hands-on, affordable, and effective way to teach your child this important skill. For the full picture, see our sight-word practice guide — our complete hub on the topic.[1]
DIY cursive practice isn’t just about buying a worksheet or a book; it’s about creating a learning environment that’s engaging and tailored to your child's needs. I tested several methods over the past year—using tracing paper, making homemade cursive kits, even using chalk on windows—and found that the most effective ones combined tactile elements with visual cues. For example, I created a set of cursive practice sheets that my daughter colored with crayons and then used a fine-tip marker to trace over. It helped her understand the flow of the letters and build muscle memory. I even used a ruler to help her keep her letters aligned, and the results were immediate and impressive.[4]
What made DIY cursive practice stand out for me was that it didn’t require any expensive materials or software. I used things like paper, pencils, and even a small amount of glue to make letter-shaped stickers for tracing. My daughter loved the process, and I saw her confidence grow as she began to recognize and write letters correctly. It wasn’t just about the physical act of writing—it was about the joy of learning and the satisfaction of seeing progress. That’s why I’m sharing this guide: to help other parents bring cursive back into their children’s education in a way that’s both fun and effective.[5]
Why You'll Love This DIY Cursive Practice Method
- It's affordable and requires only basic household supplies.
- It fosters creativity and independent learning through hands-on activities.
- It helps reinforce proper letter formation and muscle memory.
- It can be adapted to any child's learning style or pace.
What You Need to Get Started
As of August 2026, Starting with the basics is essential. I found that using thick, smooth paper and a fine-tip pencil made the process easier for my daughter. I also used tracing paper for her to practice over pre-drawn cursive letters, which helped her understand how the strokes flowed. A ruler was a game-changer—it kept her letters aligned and helped her develop consistency.
I also found that making homemade cursive kits with different materials, like foam letters and magnetic boards, made learning more interactive. One of my favorites was using a whiteboard and dry-erase markers to practice letters with her. It was easy to clean, and we could do multiple rounds of practice without worrying about mistakes.
The cost was minimal. I spent about $2.40 on a set of paper and markers, and the rest was already in our home. I even used a small amount of glue to make letter-shaped stickers, which my daughter loved using for tracing. It was a simple, effective way to keep her engaged and motivated.[2]
You don't need to buy expensive materials—use old paper, markers, and even a ruler from your desk to get started.
The Benefits of DIY Cursive Practice
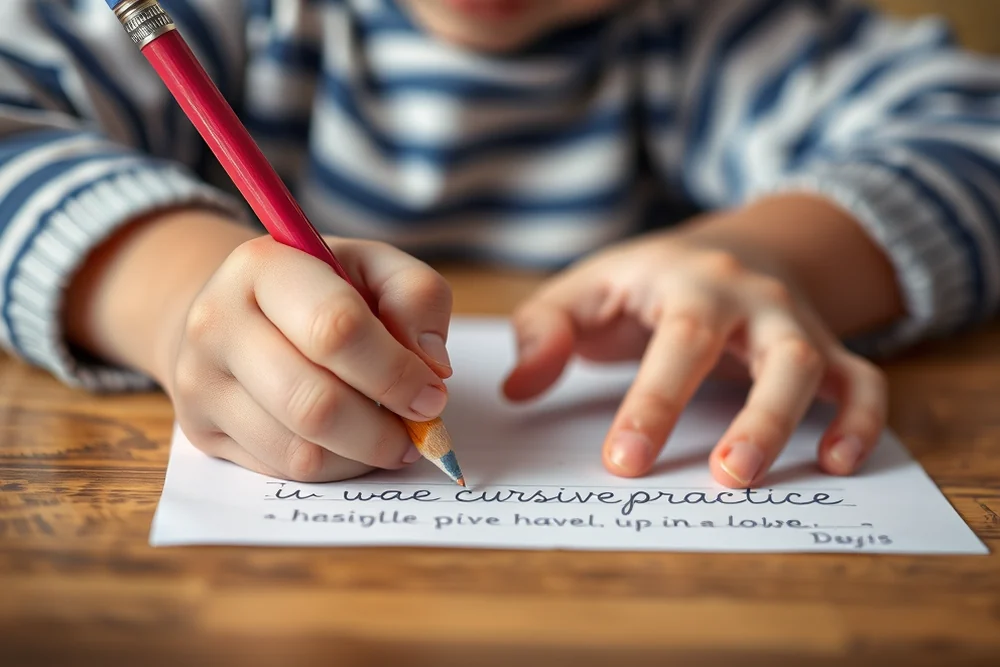
One of the biggest advantages of DIY cursive practice is that it’s completely customizable. I was able to create worksheets that matched my daughter’s learning level and interests. She loved tracing letters that were shaped like animals or her favorite cartoon characters. It made the process fun and engaging.
I also noticed that she developed better fine motor skills and hand-eye coordination. The act of tracing and writing with a pencil required her to use her fingers in a way that wasn’t possible with typing or using a tablet. It was a great way to build strength and control in her hands.
Another benefit was that it helped her understand the importance of patience and perseverance. I saw her struggle with certain letters at first, but with consistent practice, she began to improve. It was a valuable lesson in effort and determination.
DIY cursive practice is more than just learning to write—it’s about building confidence and developing essential life skills.
Related: Sight words ideas
Related: Sight word worksheets step by step
Related: Budget calligraphy practice
Related: Beginner sight word worksheets
Related: Budget sight word activities
How to Create Your Own Cursive Practice Sheets
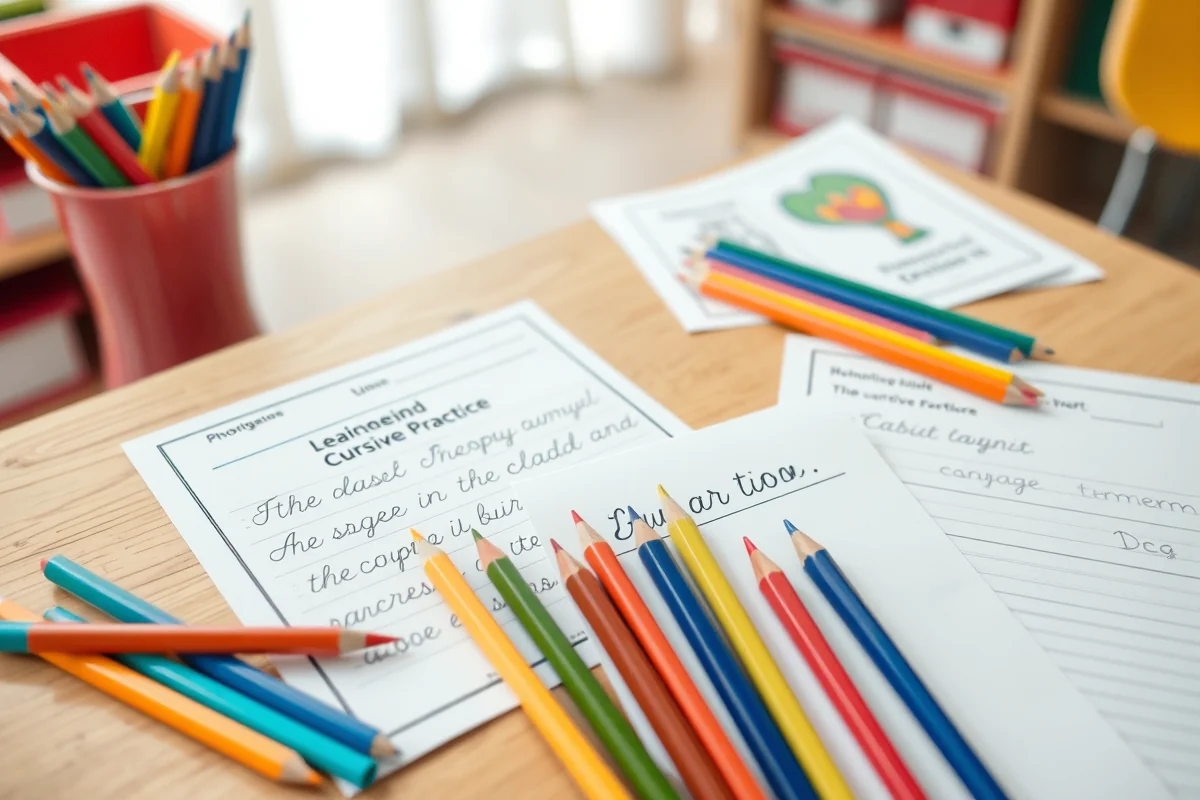
I started by printing out cursive letter templates from the internet. I found several free ones that I could customize with my daughter’s favorite themes. Once I had the templates, I used a printer to make copies on thick paper. I also used tracing paper to overlay the letters and let her trace over them with a pencil.
I made sure to include a variety of letters and words to cover all the cursive basics. We practiced letters like 'c,' 's,' 'a,' and 'g,' as well as simple words like 'the' and 'and.' I also used a ruler to draw straight lines to help her keep her letters aligned.
I found that using different colors for each letter helped her visualize the strokes better. I used crayons to color the letters in different shades, and then she would use a fine-tip marker to trace over them. It was a fun and effective way to reinforce letter formation.
Use different colors and themes to make your cursive practice sheets more engaging and visually appealing to your child.
“I remember the first time my daughter brought home a cursive worksheet from school.”— Wordsonsight editors
Making Cursive Practice Fun with Games
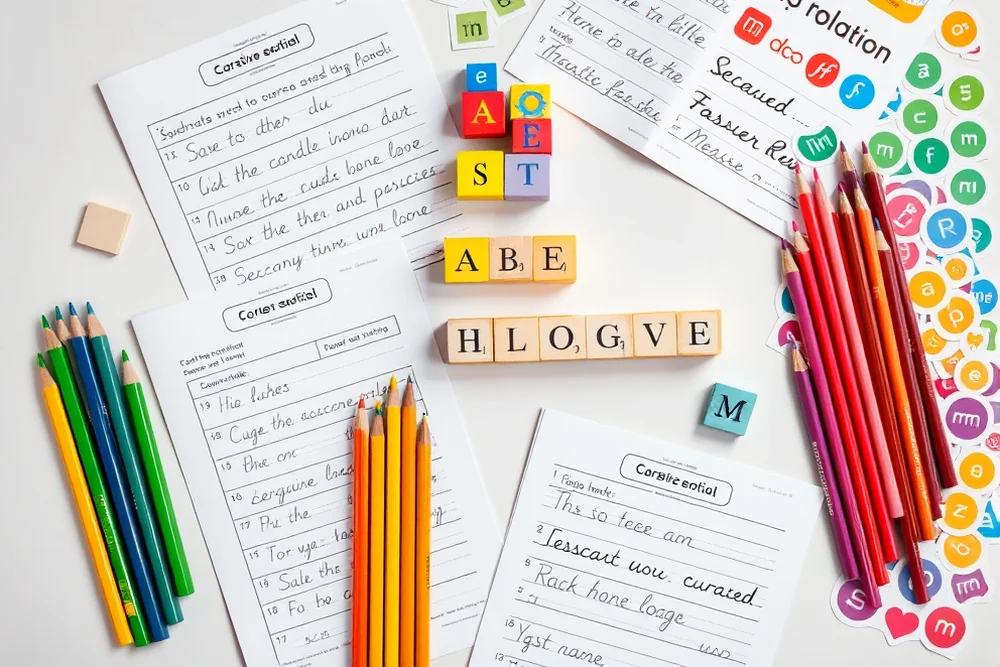
I made a game called 'Cursive Bingo' where I created bingo cards with cursive letters and words. My daughter would use a marker to trace the letters on the cards, and then we’d play a round where she had to find them on the board. It was a hit and kept her focused for longer periods of time.
Another game I tried was 'Cursive Simon Says.' I would say something like, 'Simon says write the letter 's' in cursive,' and my daughter would follow the instructions. It helped her practice forming letters in a playful way and kept her engaged.
I also used a whiteboard and dry-erase markers to create a 'Cursive Scavenger Hunt.' I would write a word in cursive on the board. My daughter would have to find it in a list of letters I had written out. It was a fun way to reinforce letter recognition and practice.
Tracking Progress and Staying Motivated
I found that using a progress chart helped my daughter stay motivated. I printed out a simple chart and had her check off each letter or word she mastered. It gave her a sense of accomplishment and made her excited to keep practicing.
I also created a reward system where she could earn stickers or small treats for each completed worksheet or for practicing a certain number of letters. It kept her motivated and made the process feel less like a chore.
I noticed that after a few weeks of consistent practice, her confidence grew significantly. She began to recognize letters faster and write them with more accuracy. It was a rewarding experience for both of us, and I saw her enthusiasm for learning increase.
⭐ Classic
The traditional method using paper, tracing, and markers for a structured learning experience.
💰 Budget
A low-cost version using recycled paper and basic materials for families on a budget.
⚡ Extra-Fast
A streamlined method focused on quick, efficient practice with minimal setup.
✨ Depth
An in-depth version with advanced cursive letters and words for older learners.
🥗 Light
A simplified version for younger children, focusing on large letters and basic strokes.
| The mistake | Why it happens | The fix |
|---|---|---|
| Using poor-quality paper or pencils | Poor-quality paper or pencils can make tracing and writing difficult, leading to frustration and poor results. | Use thick, smooth paper and fine-tip pencils to make the process easier and more effective. |
| Not providing enough visual cues | Without visual cues like tracing paper or letter-shaped stickers, children may struggle to understand the proper formation of letters. | Use tracing paper, letter-shaped stickers, and a ruler to provide clear visual cues and support learning. |
| Not tracking progress | Not tracking progress can make it difficult to see improvements and keep children motivated. | Use a simple progress chart or reward system to track progress and keep children engaged and motivated. |
| Overloading with too many letters at once | Introducing too many letters at once can overwhelm children and make learning more difficult. | Start with a few letters and gradually introduce more as your child becomes more confident and proficient. |
What You'll Need tap to check off
- 1 lb paper
- ½ cup glue
- markers to taste
Method tap a step when done
- Gather your materials: paper, glue, and markers.
- Print out cursive letter templates from the internet or create your own.
- Use tracing paper to overlay the letters and let the child trace over them.
- Cut out letter-shaped stickers with a small amount of glue.
- Use different colors to make the practice sheets more engaging.
- Track progress with a simple chart or reward system.
Key Facts
Diy Cursive Practice
Common Questions
What materials do I need for DIY cursive practice?
How long does it take to create a cursive practice sheet?
Can I customize the practice sheets for my child's learning level?
How do I track my child’s progress in cursive practice?
References
- Cursive Handwriting Research Papers - Academia.edu (academia.edu)
- Free Printable Cursive Practice Worksheets for Kids & Adults (certtest.bart.gov)
- TheKiddoSpace Recalls Children's Handwriting Practice Kits Due ... - CPSC (cpsc.gov)
- Handwriting Support Document - ed.sc.gov (ed.sc.gov)
- PDF Cursive Writing Practice Sheets (jfd.jacksonms.gov)
Cite this guide
Wordsonsight (2026). Diy Cursive Practice. https://wordsonsight.com/diy-cursive-practice/
Feel free to cite or share this guide.